
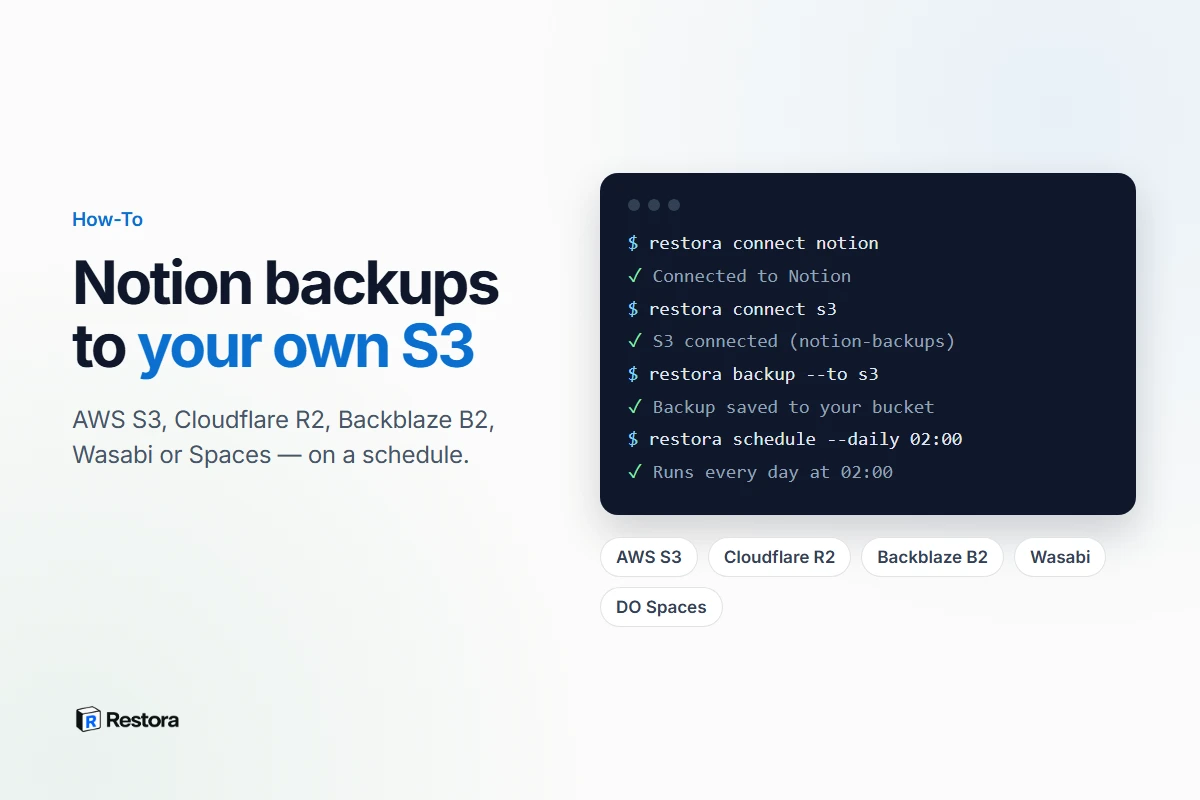
If you already keep backups in object storage, that's where your Notion backups belong too: off Notion's infrastructure, under your own access policies, with versioning and lifecycle rules you control. This guide sets it up with Restora's free, open-source CLI in four commands, then covers the hands-off option if you'd rather not run a scheduled job yourself.
What you need
- A bucket on Amazon S3, Cloudflare R2, Backblaze B2, Wasabi or DigitalOcean Spaces — or any other S3-compatible storage.
- An access key limited to that bucket, with
PutObject,ListBucketandDeleteObject. - Node.js on the computer that will run the backups.
- About ten minutes.
Before you start: lock the bucket down
Give the key one bucket and three permissions. The CLI writes backups (PutObject), lists them to show status and apply retention (ListBucket), and removes old ones when retention is on (DeleteObject). It doesn't need anything else, and it doesn't need access to your other buckets.
Turn on versioning if your provider offers it. On S3, the CLI's retention settings delete old backups permanently — there's no trash, unlike Google Drive. Versioning gives you a way back if a backup you wanted is ever removed.
Step 1 — Install the CLI and connect Notion
npm i -g @restora/cli
restora connect notion
First create the token Restora will use. Open notion.so/my-integrations, choose New integration → Internal, give it read-content access, save, and copy the Internal Integration Secret. Paste it when restora connect notion asks for it.
Then share what you want backed up with that integration: in Notion, open a page, click ••• → Connections and add it. Sharing a parent page covers the databases nested inside it. The token is saved only on your computer, and because it's an internal integration token rather than a browser login, it doesn't expire when you sign out of Notion.
Step 2 — Connect your bucket
restora connect s3The CLI asks for your provider, then only what that provider needs to build the endpoint:
| Provider | It asks for | Endpoint it uses |
|---|---|---|
| Amazon S3 | Region, e.g. us-east-1 | https://s3.<region>.amazonaws.com |
| Cloudflare R2 | Your Cloudflare account ID | https://<account-id>.r2.cloudflarestorage.com |
| Backblaze B2 | Region, e.g. us-west-002 | https://s3.<region>.backblazeb2.com |
| Wasabi | Region, e.g. us-east-1 | https://s3.<region>.wasabisys.com |
| DigitalOcean Spaces | Region, e.g. nyc3 | https://<region>.digitaloceanspaces.com |
| Anything else | Endpoint URL, region, and whether to use path-style URLs | The endpoint you enter |
Then it asks for the bucket name, a key prefix (restora/ by default), and the access key and secret — or reads them from the AWS_ACCESS_KEY_ID and AWS_SECRET_ACCESS_KEY environment variables if you've set them. It checks that it can reach the bucket before saving anything, then asks whether to make the bucket your default destination. Say yes if you want scheduled backups to land there.
Step 3 — Run your first backup
restora backup --to s3The backup reads your workspace without changing anything and writes one timestamped backup file under your prefix. To back up only some databases, add --databases with their IDs; scheduled runs remember that selection.
To stop the bucket growing forever, add retention: --keep 30 keeps the newest 30 backups, and --keep-weeks 8 also removes anything older than eight weeks. The newest backup is always kept. On S3, remember, those removals are permanent.
Step 4 — Put it on a schedule
restora schedule --daily 02:00This registers a daily job with your operating system's scheduler, and each run backs up to your default destination. restora status shows the schedule, the next run and your most recent backups.
The one catch with any local schedule: it only runs while that computer is on and awake at the scheduled time. An always-on machine is ideal.
Hands-off instead: automatic S3 backups on Pro
If you don't want a computer running the job, Restora Pro runs scheduled backups from Restora's servers straight to your bucket — daily or weekly, with your laptop closed. In the web app, connect S3-compatible storage (there are presets for AWS S3, Cloudflare R2, Backblaze B2, Wasabi, DigitalOcean Spaces and self-hosted MinIO), pick a schedule, and it runs on its own. To do that unattended, Pro stores your storage credentials encrypted. Pro is $6.99/month and also includes restore, deletion alerts by email and a timeline of every backup.
What lands in your bucket
- One backup file per run, in plain, open JSON you can read without Restora.
- Databases as structure: properties, relations, rollups and formulas as definitions, plus views and page hierarchy.
- Attachments as real bytes, up to your plan's per-file size cap. Anything larger is skipped and named, not dropped silently.
Restoring from S3
A backup in your bucket can be restored into Notion with Restora. Backups made by Pro's scheduled runs appear in your backup timeline, where you can restore a whole workspace, one database or just the rows that were deleted. A backup file made by the CLI can be restored by uploading it in the Restora app, within the in-browser size limit shown there. Either way, restoring needs Pro or the one-time $9.99 pass, and the restore creates new pages in the Notion workspace you choose, reconnecting relations and rebuilding views. The full sequence is in restoring a Notion database without losing its relations.
The honest limits
- Local schedules need the machine awake. Pro's server-side schedule doesn't.
- Retention deletes for real on S3. Turn on versioning where your provider supports it.
- A backup holds only what the integration can see, as of its last run. Share the right pages, and schedule as often as you can afford to lose.
- A restore creates new pages. Page IDs, edit history and original timestamps don't come back, so old links and automations need re-pointing.
Keeping backups in Google Drive instead? The same CLI does that too — see backing up Notion to Google Drive.